The smoky eye look is a timeless makeup technique that adds a touch of mystery and allure to your appearance. Its versatile nature makes it suitable for a night out, a special event, or even a day at the office when done with a lighter touch. In this article, we’ll explore everything you need to know to master the smoky eye, from tools and techniques to tips for creating the perfect blend. Whether you’re a makeup novice or an enthusiast looking to refine your skills, this guide will set you on the path to becoming a smoky eye expert.
Understanding the Basics of the Smoky Eye
Before diving into the intricate world of smoky eyes, it’s crucial to understand the basic elements involved. A smoky eye is generally characterized by blending dark and light shadows around the eyes to create depth and dimension. The key to this look is the gradient effect, where colors transition smoothly from one to another.
Typically, the look involves three main shades: a dark color for the lash line, a medium shade for the crease, and a light shade for the brow bone. Additionally, the role of eyeliner is pivotal, as it helps to define the eyes and enhance the dramatic effect. Mascara completes the look by adding volume and length to the lashes.
Essential Tools for Creating a Smoky Eye
Success in achieving a smoky eye begins with having the right tools. The tools needed not only make the application process smoother but also ensure the best results. Here’s what you’ll need in your makeup arsenal:
- Eye Primer: To prevent creasing and ensure your shadow stays put for hours.
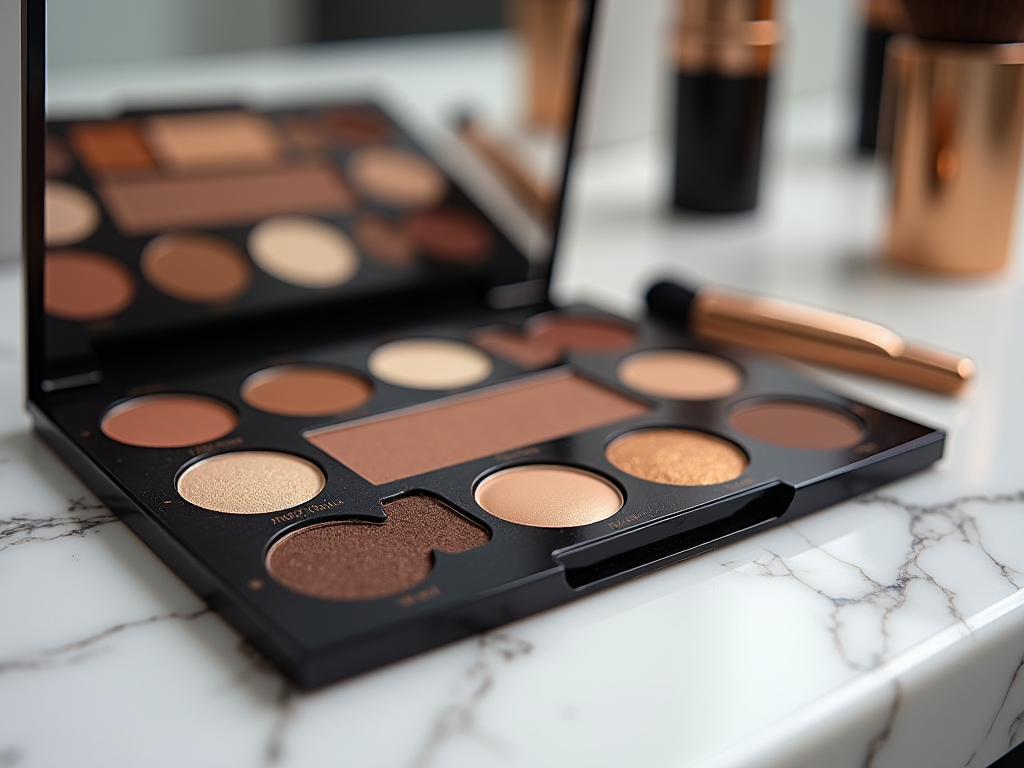
- Eyeshadow Palette: A palette with complementary shades to achieve the gradient effect.
- Brush Set: A blending brush, a creased brush, and a smudging brush are essential.
- Eyeliner: Gel, pencil, or liquid based on your preference for creating sharp lines.
- Mascara: For adding volume and definition to your lashes.
Creating a smoky eye may seem daunting, but by following these steps, you can achieve a professional look in no time. Remember, practice makes perfect, so don’t be discouraged if your first attempt isn’t flawless.
- Start with a Primer: Apply an eye primer to your eyelids to create a smooth, crease-free base for your makeup.
- Apply the Base Shade: Choose a light, neutral shade and apply it over the entire lid, up to the brow bone.
- Layer the Crease Color: Select a medium shade and apply it to your crease. Use a blending brush to blend it evenly.
- Contour with a Dark Shade: Focus the darkest color along the lash line and outer corner of your eye. Blend to avoid harsh lines.
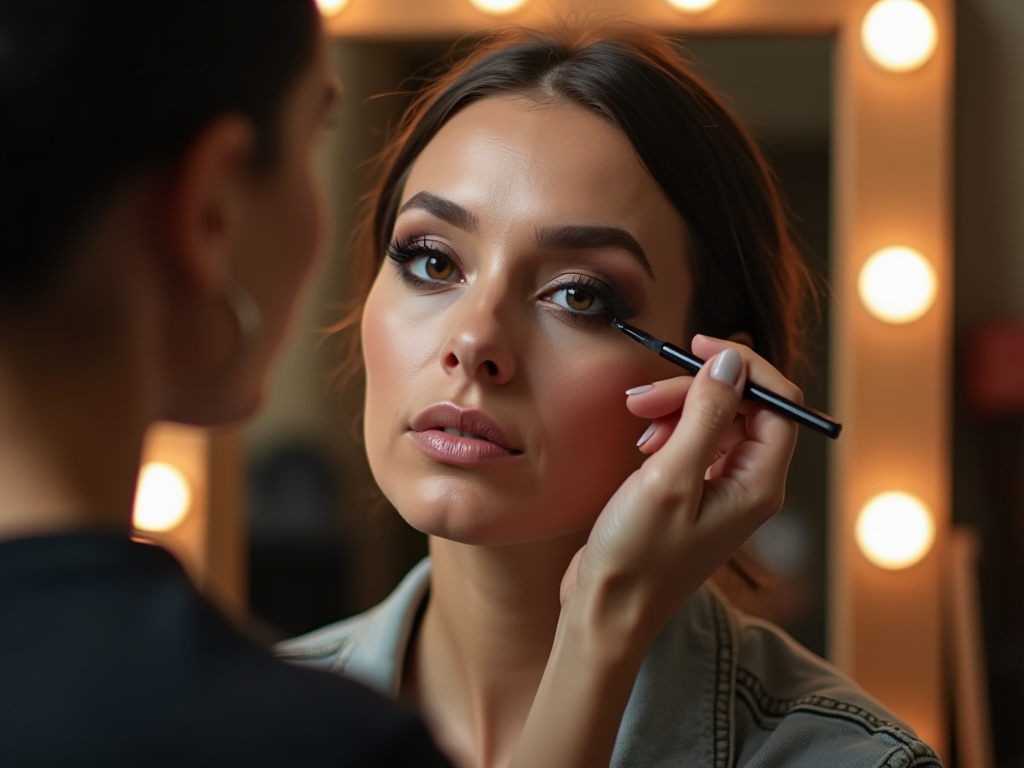
- Define with Eyeliner: Line the upper and optionally lower lashes with black or dark brown eyeliner and smudge slightly for a smoky effect.
- Finish with Mascara: Apply a generous coat of mascara to enhance the intensity of your smoky eye.
Common Mistakes to Avoid
Even seasoned makeup enthusiasts can sometimes falter when creating a smoky eye. Here are some common mistakes and how to avoid them:
Many beginners forget the importance of blending, resulting in harsh lines between shades. Remember, the beauty of a smoky eye lies in its seamless transitions. Another pitfall is overloading the brush with too much product, which can lead to fallout and a muddy effect.
Also, neglecting to apply a primer can lead to creasing and early fading. Lastly, using the wrong brushes can make precision difficult, so invest in a quality set of brushes suitable for the task.
Conclusion
Mastering the smoky eye look opens up a world of possibilities, allowing you to experiment with different shades and intensities. By understanding the basics, equipping yourself with the right tools, following a structured application process, and avoiding common pitfalls, you can achieve professional-level results. So, get your makeup kit ready, set aside some time to practice, and soon you’ll be creating captivating smoky eyes that turn heads and make you feel confident and beautiful.
Frequently Asked Questions
1. Can I use different colors for a smoky eye?
Yes, while classic smoky eyes use shades of black, gray, and brown, you can experiment with different colors like purples, blues, or greens to create a variety of looks.
2. Is it necessary to use an eye primer?
Using an eye primer is highly recommended as it helps your eyeshadow last longer, prevents creasing, and makes the colors appear more vibrant.
3. What brushes are essential for a smoky eye?
Essential brushes include a blending brush for seamless transitions, a crease brush for adding depth, and a smudging brush for softening lines.
4. How do I prevent fallout when doing a smoky eye?
To prevent fallout, tap off any excess shadow from your brush before applying it to your eyelid. You can also do your eye makeup first before applying foundation to make any cleanup easier.
5. Can I wear a smoky eye during the day?
Absolutely! For a daytime smoky eye, opt for lighter shades and a softer application technique to keep the look subtle yet polished.